| home:making stuff:cherry ale | site map | navigation help |
|
Brewing a Cherry Ale |
Brewing: January 13th, 2008
Transfer: January 21st, 2008
OG: 1.045
Here are pictures from me brewing a cherry flavored ale based on the "Cherries in the Snow" recipe in Charlie Papazian's The Complete Joy of Homebrewing. This is a wonderful book and I recommend it to anyone wanting to learn more about brewing beer. As you can see from the following photos, homebrewing is extremely easy!
My ingredients varied somewhat from the original recipe due to the lack (and price) of stuff like fresh cherries. So I improvised by using a cherry extract and frozen cherries from the local grocery store. The rest of the stuff was acquired from MoreBeer.com. Here is my stuff:
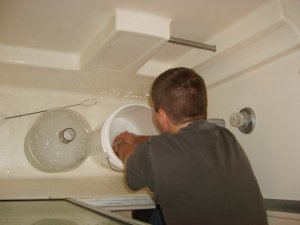
The most important step is making sure all the brewing equipment is nicely clean and disinfected.
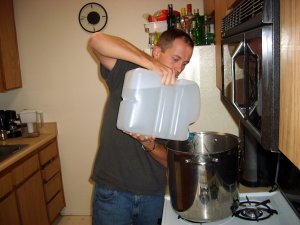
I start cooking by adding about a gallon of water into a large pot. Adding the water first prevents the malt from getting scorched.
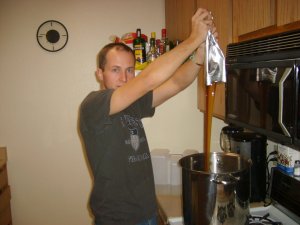
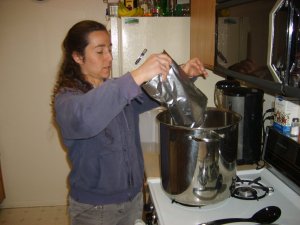
The next step is adding of the malt. Having friends help out makes brewing so much more fun!
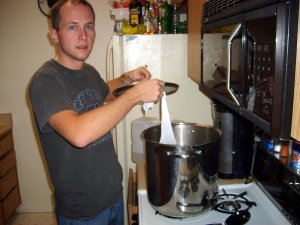
Then I add the hops. Placing the hops in a muslin bag helps with their removal at the end of the boil.
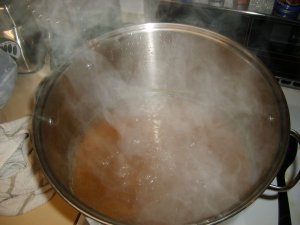
Simple, isn't it? Now I just stir the wort and let it boil for about an hour. Hmmm, can you smell the hops?
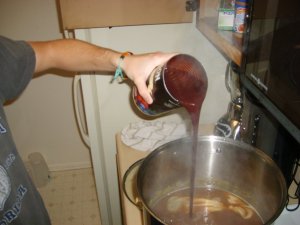
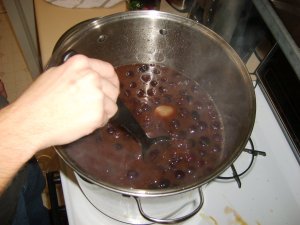
After boiling the wort for an hour, I turned the heat off and added the cherry extract and the whole pitted cherries.
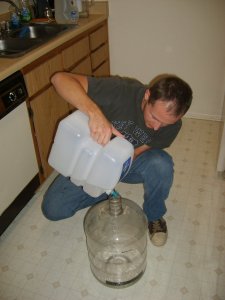
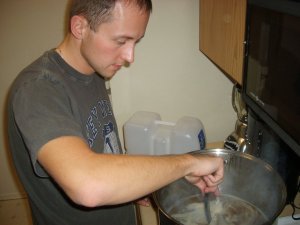
Now I just have to transfer the beer to the fermentation carboy. A gallon of cool water added first keeps the carboy from cracking.
![]()
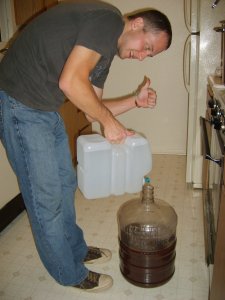
After all the beer had been transferred, I added enough water to make 5 gallons. To make this easier, I marked the proper fill level ahead of time with a sharpie.
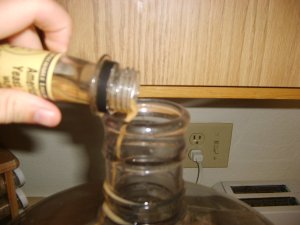
Luckily, it gets quite cold here in Lancaster in winter, so it didn't take long for the wort to cool down to the yeast-friendly 78F. Pitching the yeast is easy: shake the bottle and pour...
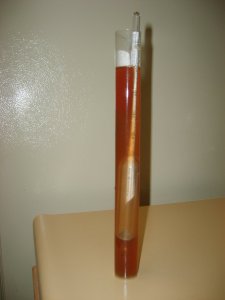
Next check the starting density and write it down. The difference in density at the end of the brew is used to calculate the alcohol content. The final step is my favorite: aerating the beer. This basically involves shaking the carboy for good 30 minutes to make sure the yeast gets plenty of air.
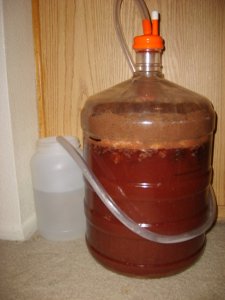
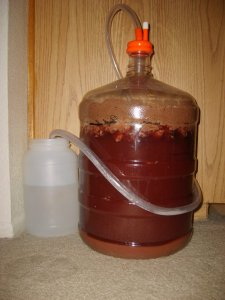
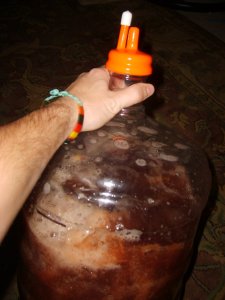
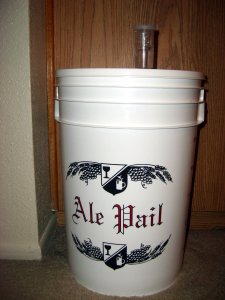
That's it. No problem, right? Just attach the fermentation lock (or improvise one like I did here), sit back, and watch the action. These pictures were taken roughly 24 hours apart, and show the various stages of the fermentation. The most active fermentation took place on day 2, with the beer starting to settle by day 4.
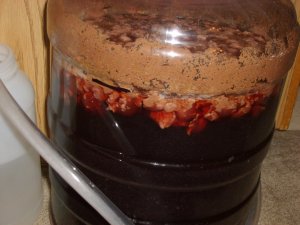
Here is a close up of the fermented cherries. Their job is done; it's now time to transfer the liquid to a secondary fermenter and leave all the gunk behind.
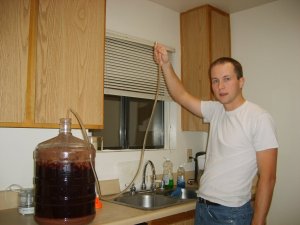
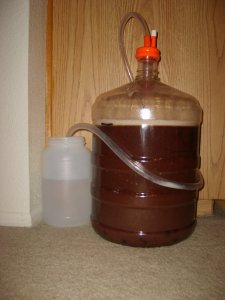
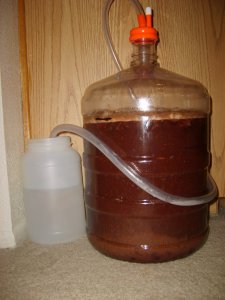
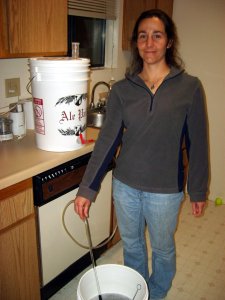
The trick is to avoid disturbing the carboy and use a siphon to transfer the liquid. Here I used a technique in which I filled a hose with water. This is probably more sanitary than the "swig of vodka and suck" method.
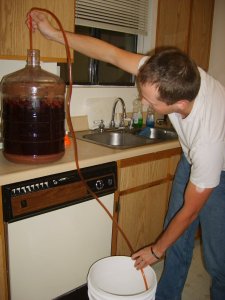
Another view of the siphoning operation.
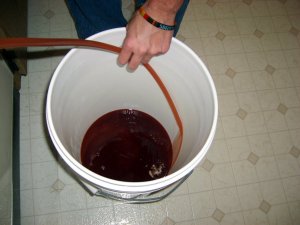
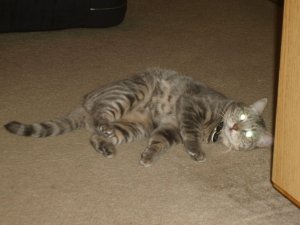
I had to restart the siphoning about 3 times because the cherries kept getting stuck in the racking tube. In the end, I ended up with about 3 gallons of liquid and one happy cat.
A taste test indicated a fairly noticeable cherry taste, but it won't be for another week until the beer is ready for bottling. Until then, it will continue it's slow fermentation in this bucket.
After a week in the secondary fermenter, the fermentation was complete and it was time to bottle the beer. The beer is now done, but there is a problem: it is completely flat. The carbonation is achieved by adding a small amount of corn sugar to the brew before bottling it. The corn sugar is processed by the remaining yeast into carbon dioxide - the bubbles.
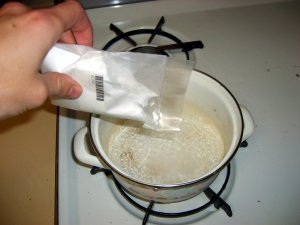
The corn sugar is mixed with a small amount of water and boiled to get sanitized.
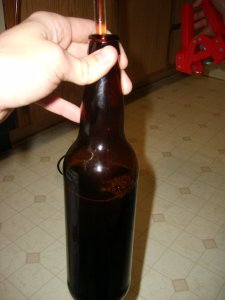
This mixture is poured into the bottling bucket before the beer is siphoned in from the secondary fermenter. This sequence helps achieve a more uniform distribution of the sugar. The bottles are filled with a tube equipped with a stopper to about an inch and a half from the top. This remaining air space is necessary to achieve the right amount of carbonation.
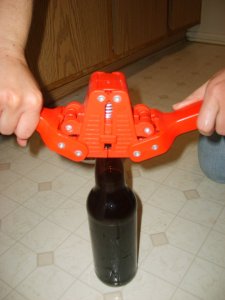
The bottles are capped and put aside for few days. That's it. We are done!