
| home:making stuff:chocolate | site map | navigation help |
|
Making Chocolate |
Date: February 1st, 2008
My friend Justin recently got into sampling various exotic dark chocolates. The problem with dark chocolate is that it seldom comes in any flavor except bitter. This got me thinking: how about I try making my own chocolate? If it turns out ok, I could then experiment with exciting new flavors such as carrots, apples, or bananas!
Having absolutely no idea how chocolate is made, I researched the internet a bit, and found a good step-by-step guide on WikiHow. My steps are pretty much identical to this guide, except that I used a coffee grinder except a pepper grinder to grind the beans.
I started with a 1/2lb of raw cocoa beans purchased online from a company called NaturalZing.
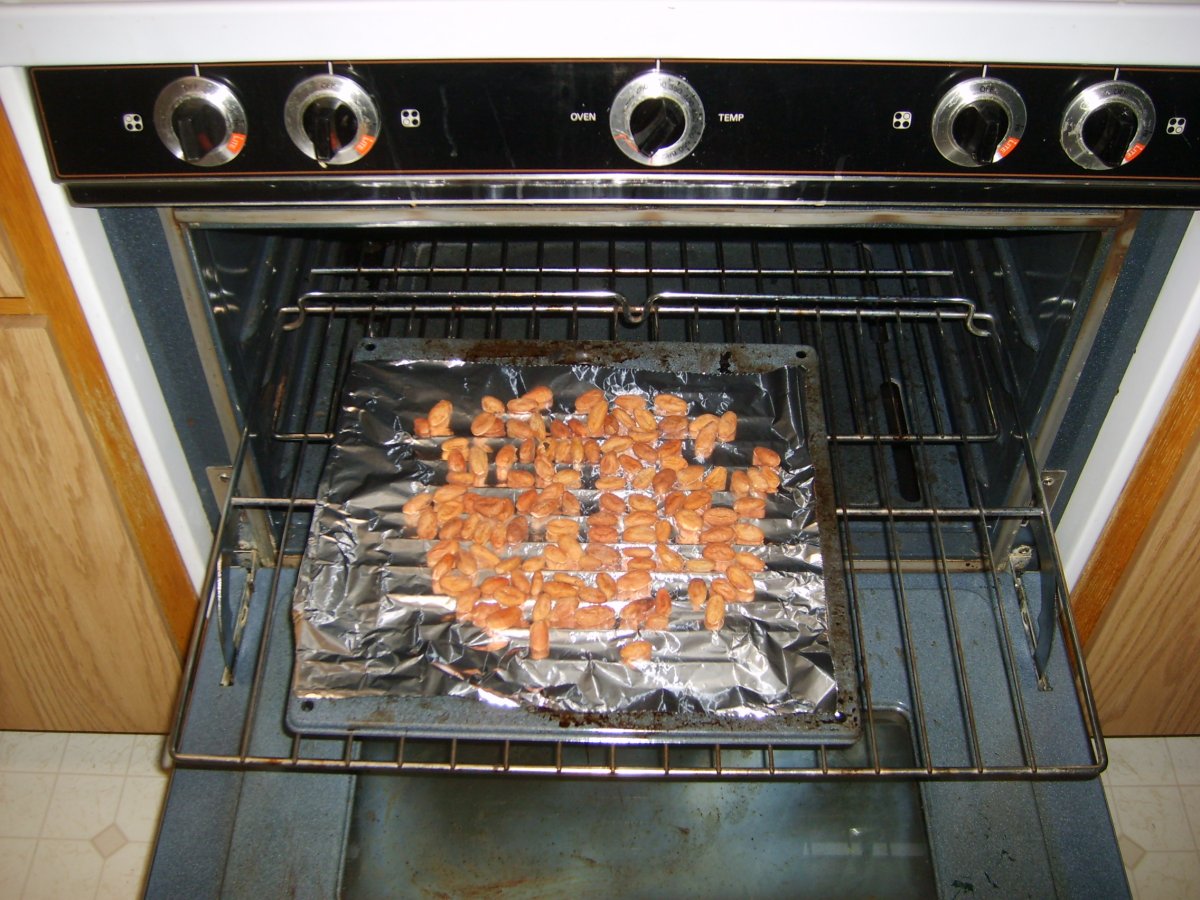
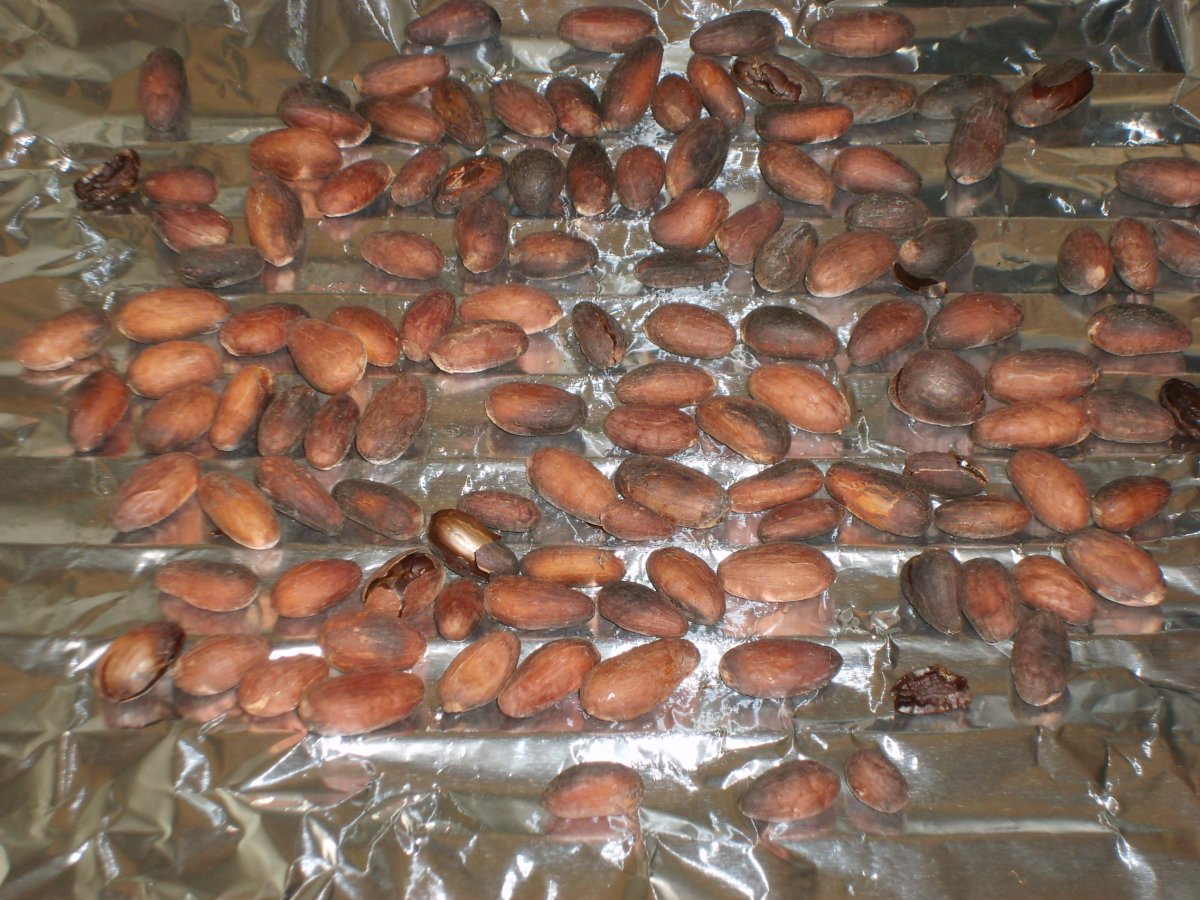
I placed the raw beans single layer on an aluminum foil (left), and roasted them in the oven at 300F for 30 minutes (right). Few beans popped off and had to be rescued from the bottom of the oven.
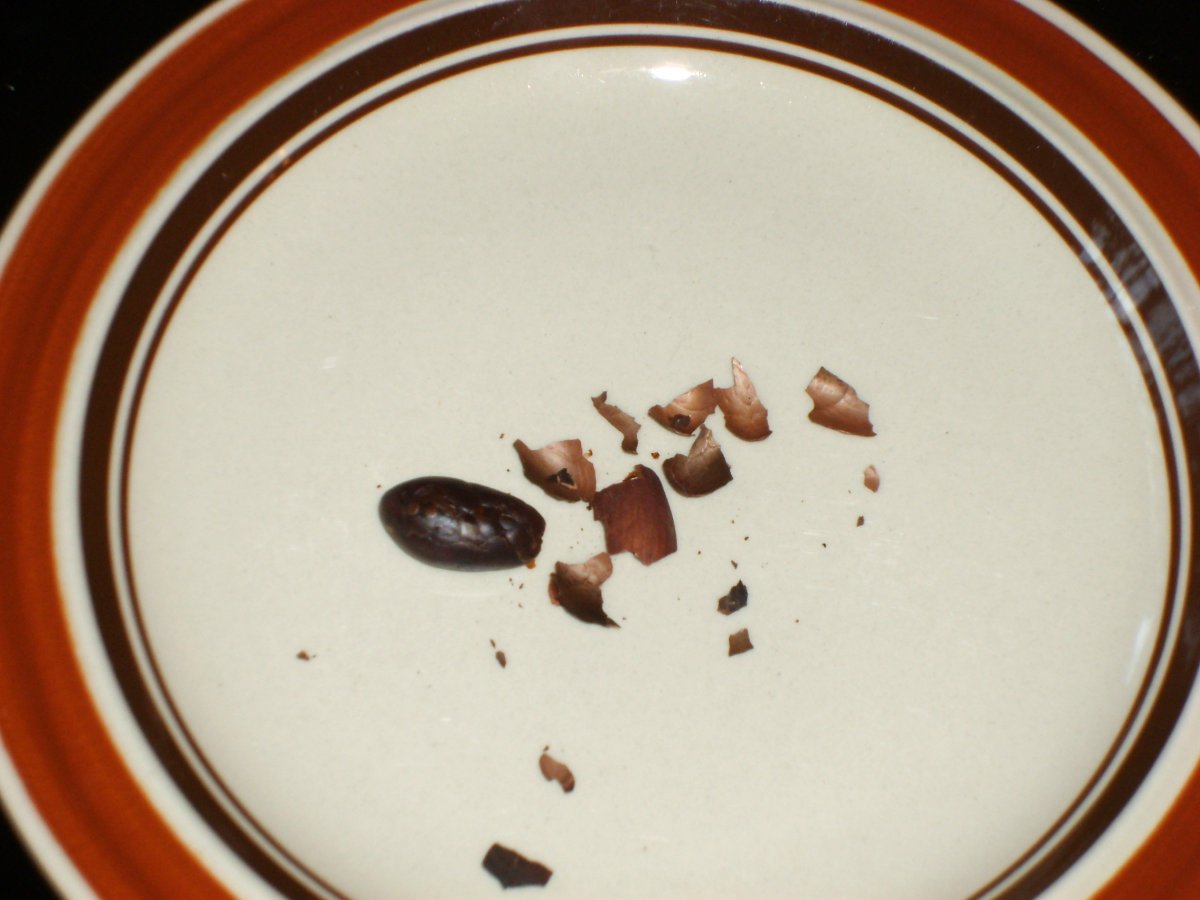
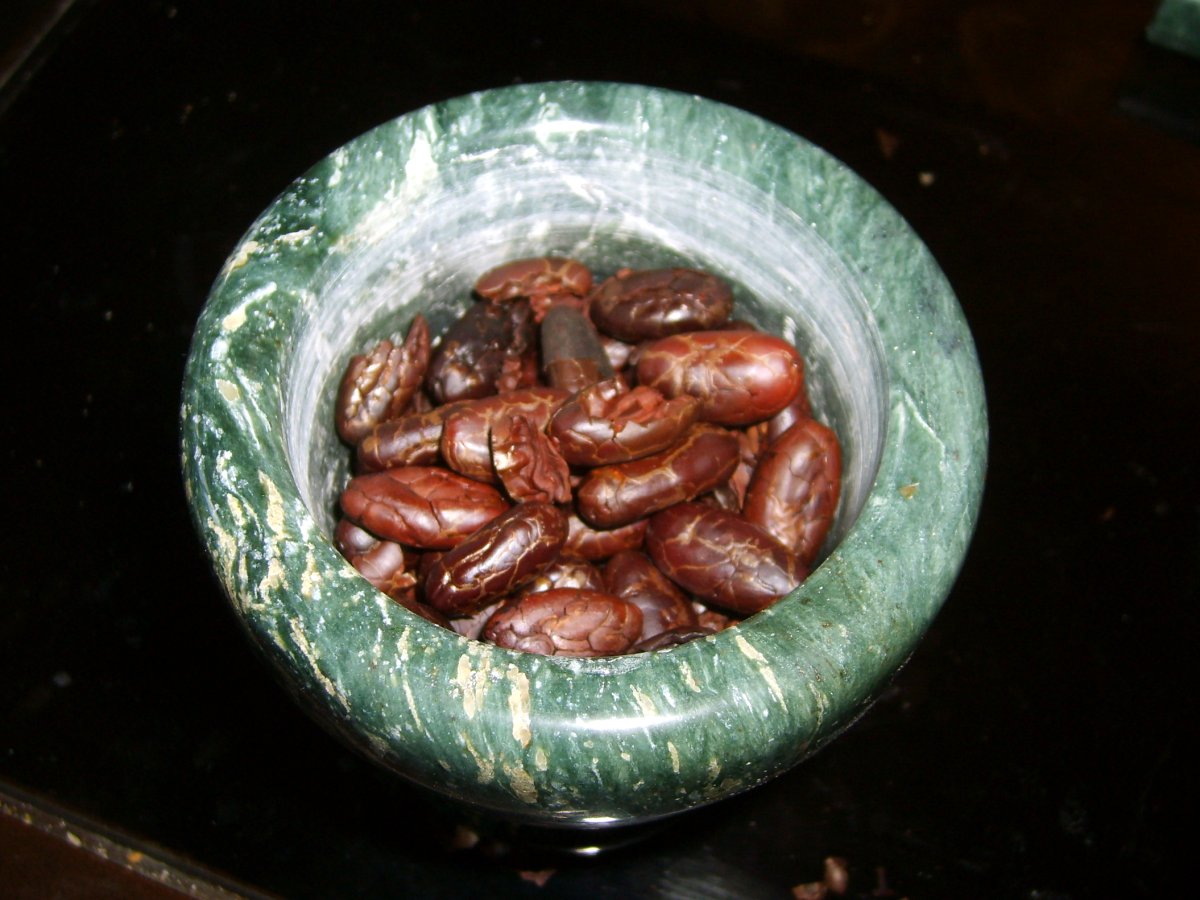
I proceeded to remove the husks of the roasted beans and put the beans in a mortar. The roasted beans had a pretty interesting texture.

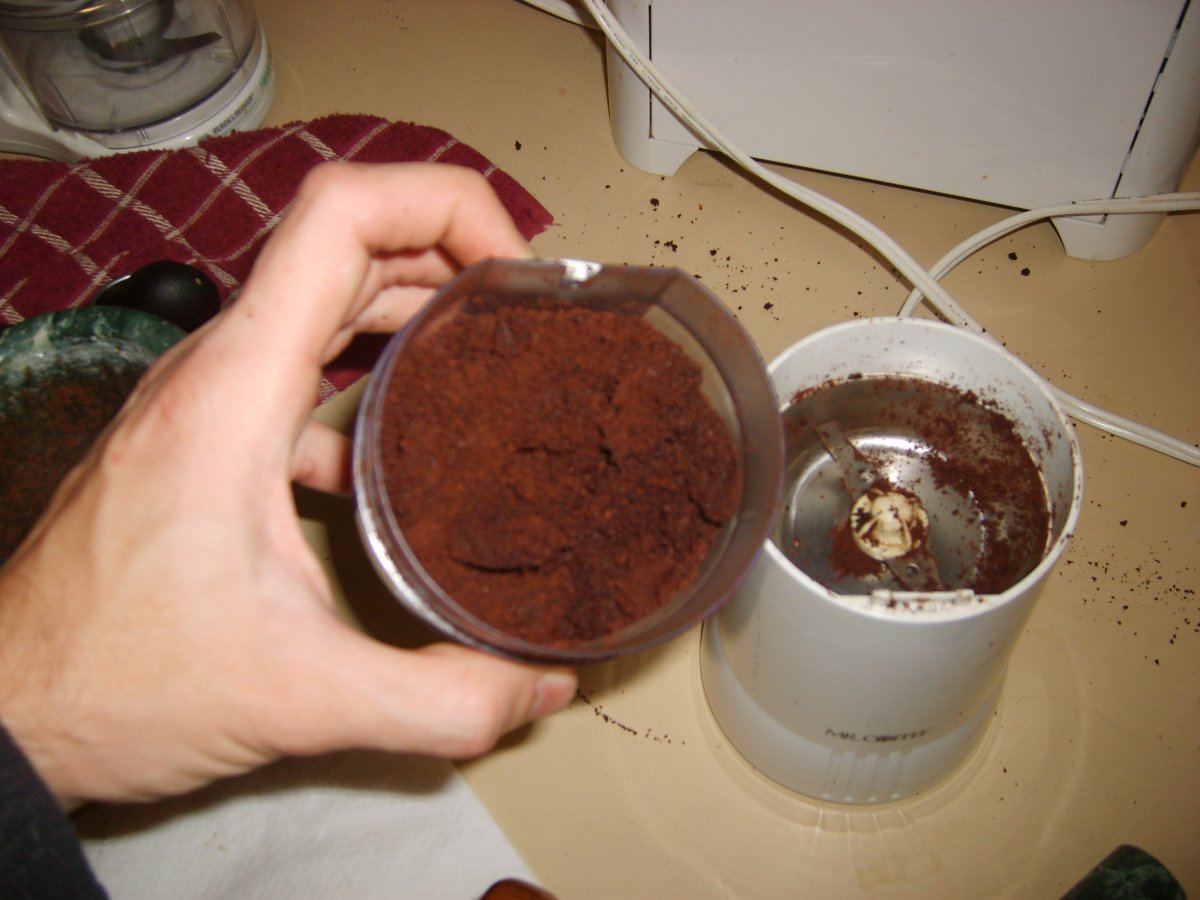
I started crushing the beans with the pestle. This worked fine for the big pieces, but not so well for the smaller ones. This got me thinking that since I have a coffee grinder, I should perhaps use that instead. The grinder worked great, except that excessive grinding resulted in a sticky paste which prevented the blades from rotating smoothly.

Here is another view of the ground up beans. I continued mashing them with the pestle until the grinds started resembling a thick paste.
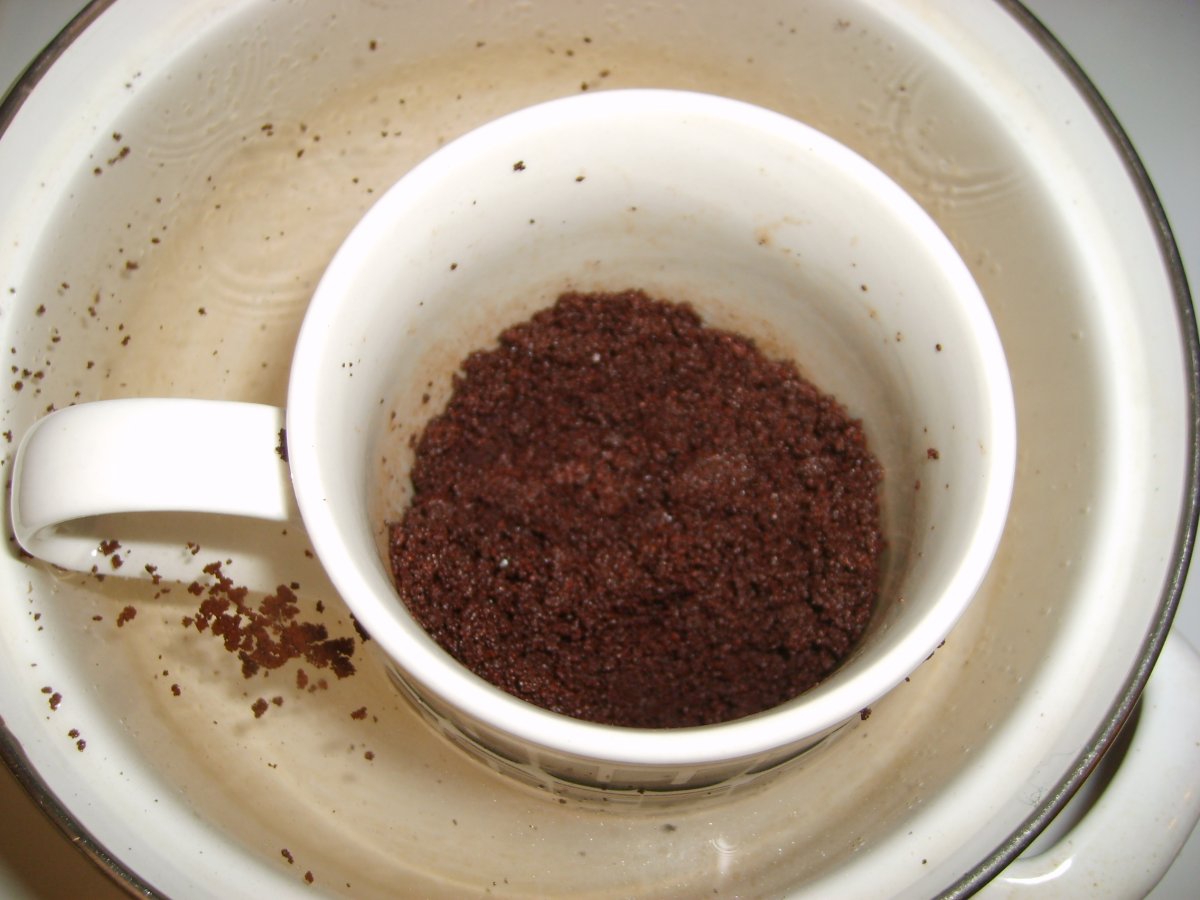

The next step called for heating the paste until it is nearly boiling. I tried heating it directly, but this resulted in the paste getting scorched. I then switched to the recommended two pan setup, but using one pot and a coffee mug (left). This didn't work either, as the mug was not thermally conductive enough. Finally, I heeded the instructions, and used two pots. This sort of worked, but the paste never quite liquefied (right).
I added sugar and continued mashing the warm paste in the mortar until the sugar was blended in. I then transferred the product onto a wax paper, which I rolled tightly to make a little chocolate "turd" (sorry for the lack of a better word!). I placed this piece in the freezer overnight to let it solidify. In the meantime, I used the reminding roasted beans to make a second batch. This was identical to the first, but I added some water to the paste to make it more liquid.

I added water to the paste while making the second batch.

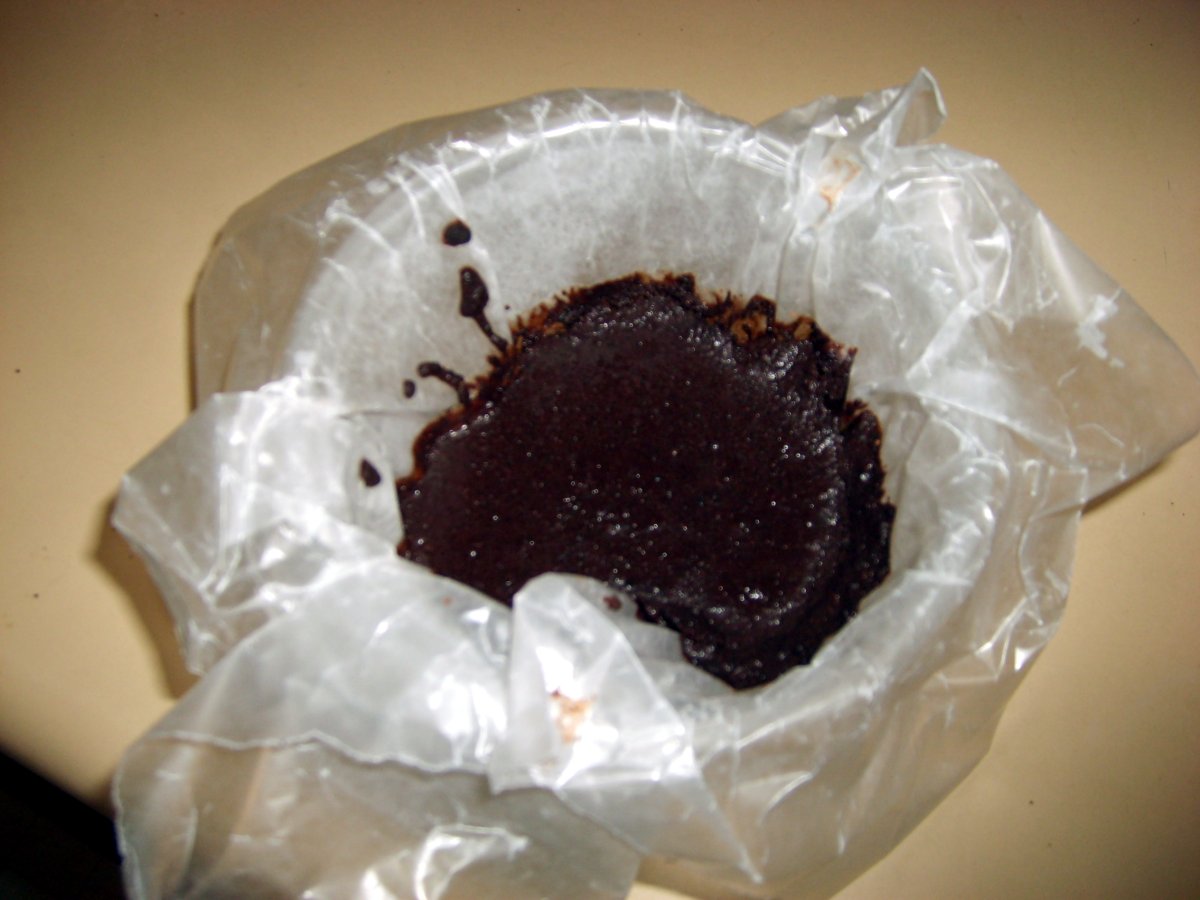
The added water helped, but the resulting solution was a bit too liquid. The final product resembled a thick pudding - a chocolate pudding that is. The trick is to use an even tinier amount of water (or milk).
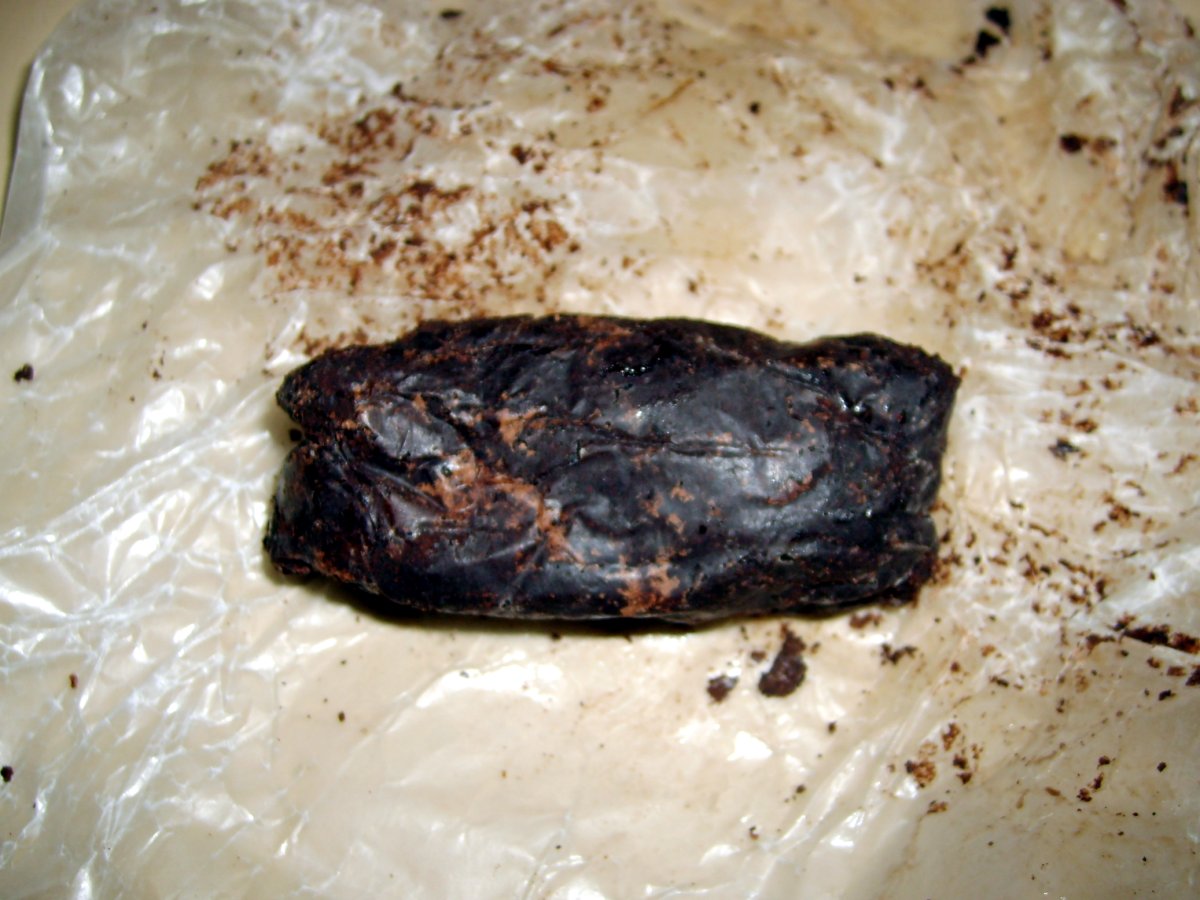

Voila! A chocolate roll from the first batch.
Finally, some lessons learned. It helps to have some sort of a mold into which to press the resulting paste. All I had was a wax paper, which didn't give me many options. Secondly, I think it is necessary to add a very small amount of liquid to the ground up beans to make the paste liquid. The trick is to use a very tiny amount, otherwise the chocolate will not quite solidify. Thirdly, making chocolate is a really messy process. And the product? It won't be winning any awards, but it definitely tasted like dark chocolate! The texture was much coarser than the store-bought stuff. The taste was pretty bitter, as I didn't use a lot of sugar (85% cocoa?). Next time, if there will be one, I'll experiment with the various additives.